


In This Article
iPhone Photography for Social Media: Easy Hacks for High-Quality Content
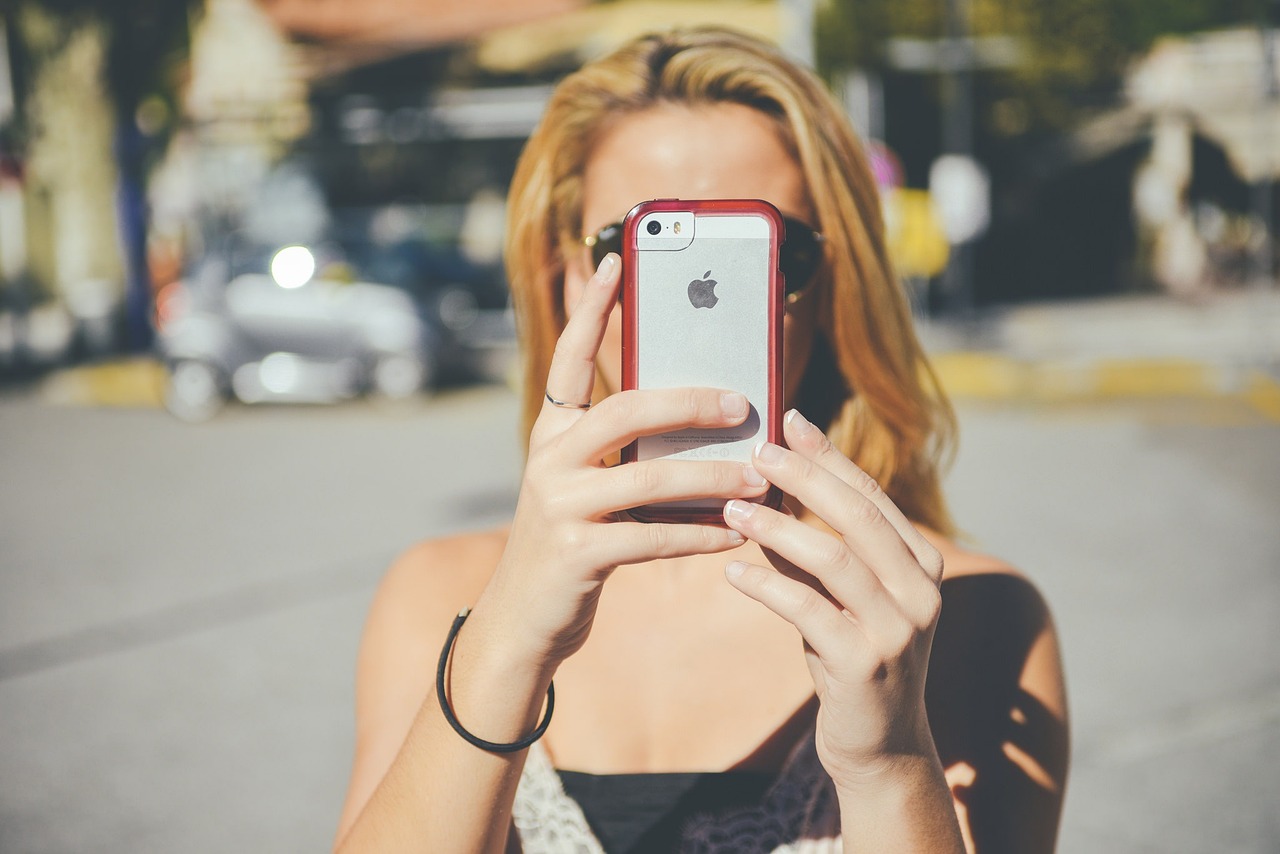
As a social media agency we know that visual content is king, and if you want to stand out on social media, high-quality photos are a must. Whether you’re a brand looking to enhance your online presence or a content creator aiming for more engagement, mastering iPhone photography for social media can transform your posts. The best part? You don’t need an expensive DSLR to capture stunning images, your iPhone has everything you need.
Many businesses and influencers rely on Instagram photos from iPhone, and with the right techniques, you can achieve professional-level results. From crisp product shots to engaging lifestyle images, your iPhone camera is a powerful tool that, when used correctly, can produce content that boosts likes, shares, and follows. But snapping a quick photo isn’t enough, things like lighting, composition, and editing play a huge role in making your images pop. That’s where this guide comes in. We’ll break down easy hacks to help you elevate your iPhone photography, ensuring your posts look polished and professional.
Thinking about improving your social media strategy? Find out why your business needs a social media content creator.
Mastering Lighting for iPhone Photos
Lighting is one of the biggest factors in capturing high-quality iPhone photography for social media. Even the best editing tools can’t fully fix poor lighting, so understanding how to use light effectively can instantly improve your images.
Natural vs. Artificial Lighting: What Works Best?
Natural light is almost always the best option for Instagram photos from iPhone. The soft, diffused light from early morning or late afternoon (known as the golden hour) adds warmth and depth to photos. If shooting indoors, position yourself near a window to take advantage of indirect natural light.
Artificial lighting can work well, but avoid harsh overhead lights that cast unflattering shadows. Instead, use softbox lights, ring lights, or LED panels to create even lighting. Branded photography for social media benefits from consistent, well-lit images that maintain a professional look.
How to Avoid Harsh Shadows & Overexposure
- Shoot in the shade or use diffusers when working in direct sunlight to prevent blown-out highlights.
- Adjust exposure manually by tapping the screen and sliding up or down to brighten or darken the shot.
- Use the iPhone’s Night Mode for better low-light performance without excessive graininess.
Using Reflectors & Light Sources to Enhance Photos
For more control over lighting, use a reflector (or even a white sheet of paper) to bounce light back onto your subject. This reduces shadows and adds a more balanced look to photography for social media.
Mastering lighting will instantly elevate your images, making them look crisper, more professional, and more engaging across all social media platforms.
Framing & Composition Techniques
Capturing a great shot isn’t just about having good lighting—it’s also about how you frame and compose your image. By following a few simple composition techniques, you can make your iPhone photography for social media look more professional and visually appealing.
The Rule of Thirds: Achieving Balance in Your Shots
One of the easiest ways to improve your Instagram photos from iPhone is by using the rule of thirds. This technique divides your screen into a 3×3 grid—most iPhones have this feature built into the camera settings. Place your subject along the grid lines or at the intersection points to create a more balanced and eye-catching image.
Leading Lines & Symmetry: Creating Visual Flow
- Leading lines help guide the viewer’s eye through the image. Roads, fences, staircases, and even shadows can be used to direct attention to the focal point.
- Symmetry creates a sense of harmony in your shots. Whether it’s a reflection in water or an evenly framed subject, symmetrical images are naturally pleasing to the eye.
Using Negative Space for Stronger Impact
Don’t clutter your photos—sometimes, less is more. Negative space (empty areas around your subject) makes the main focus stand out more and can add a clean, modern aesthetic to your branded photography for social media.
Best iPhone Camera Settings & Features
Your iPhone camera is packed with powerful settings that can take your iPhone photography for social media to the next level—if you know how to use them. By making small adjustments, you can capture sharper, more professional-looking images that enhance your brand and engagement.
Why Shooting in HDR Mode Can Improve Instagram Photos
HDR (High Dynamic Range) mode blends multiple exposures into one balanced photo, preventing overexposed highlights and underexposed shadows. This is perfect for outdoor shots or high-contrast scenes, making your Instagram photos from iPhone look more vibrant and detailed. Enable HDR in your camera settings for automatic enhancement.
Using Portrait Mode & Depth Control for Stunning Subject Focus
For branded photography for social media, sharp, well-focused subjects make a huge difference. Portrait Mode creates a professional-looking blurred background (bokeh effect) that keeps the subject in focus while softening distractions. Adjust the depth control slider to fine-tune the level of blur for a more natural look.
Manually Adjusting Exposure for More Professional Results
iPhones automatically adjust brightness, but you can manually control exposure for better accuracy. Simply tap your screen on the subject and slide your finger up or down to adjust brightness. This helps prevent overexposed skies or dark, shadowy areas.
Using Live Photos & Burst Mode for Action Shots
- Live Photos capture a few seconds before and after a shot, letting you pick the best frame or create a GIF-like movement.
- Burst Mode takes multiple shots in quick succession, ideal for capturing moving subjects without blur.
Editing & Enhancing iPhone Photos
Capturing a great shot is only half the process—editing and enhancing your photos is what makes them truly stand out. Whether you’re creating branded photography for social media or personal content, the right adjustments can transform a basic image into a high-quality, scroll-stopping post.
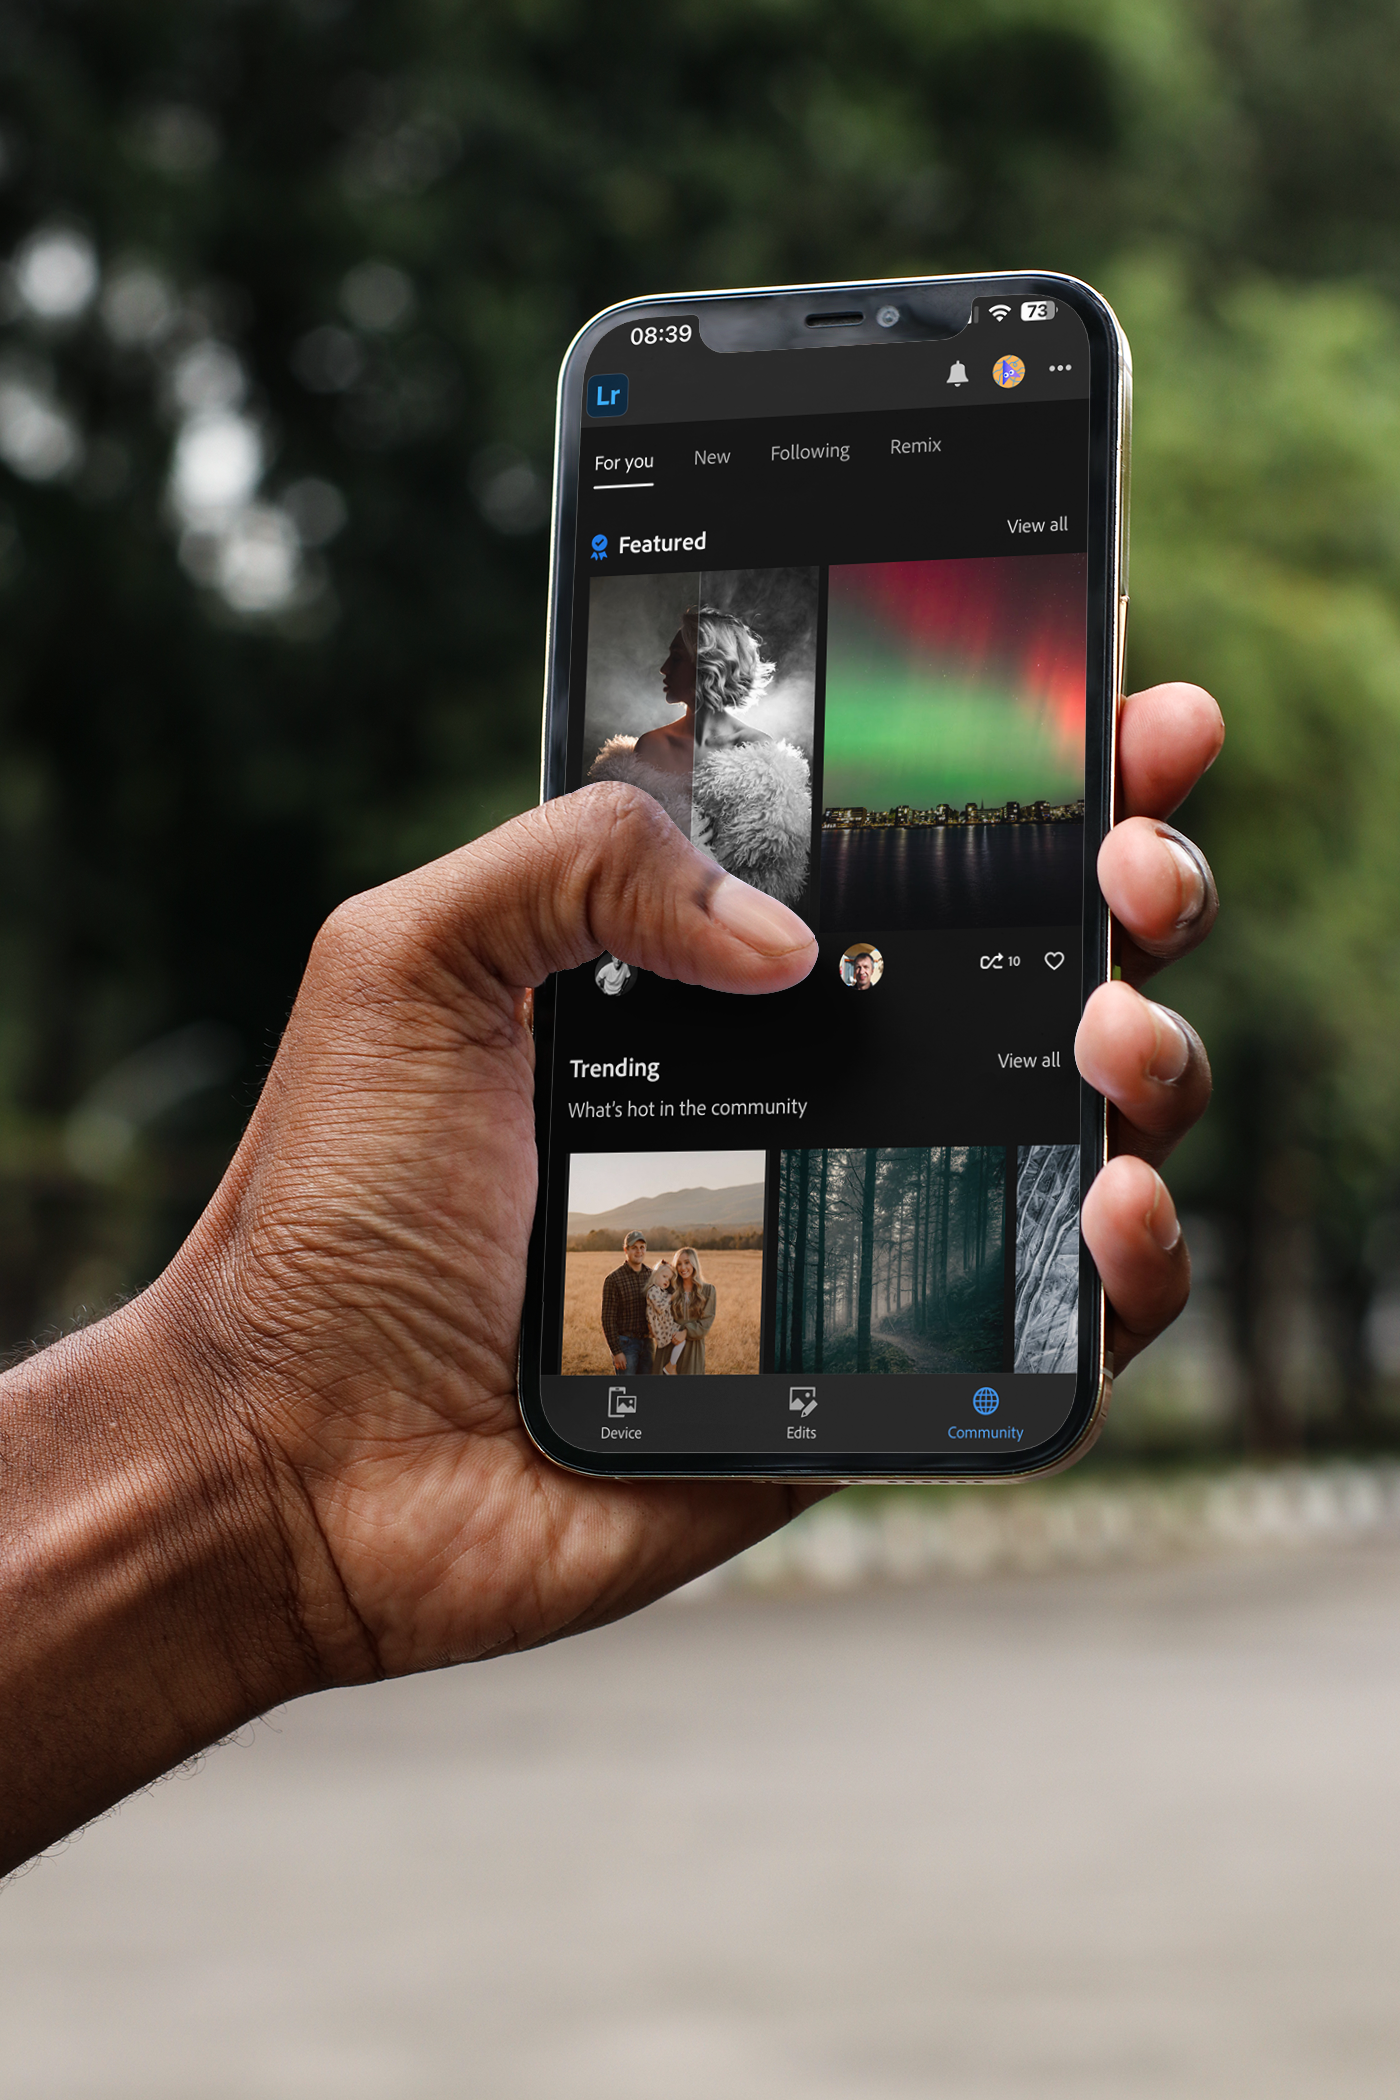
Best Free & Paid Apps for Editing
While the iPhone’s built-in Photos app offers decent editing tools, third-party apps provide more advanced features:
- Lightroom Mobile (Free & Paid) – Ideal for professional-grade colour correction and presets.
- Snapseed (Free) – Offers precise adjustments, filters, and spot correction.
- VSCO (Free & Paid) – Great for adding aesthetic filters and fine-tuning tones.
How to Maintain a Consistent Aesthetic for Branded Photography
A cohesive Instagram feed looks more professional and builds brand identity. Stick to a consistent colour palette, brightness level, and editing style for your iPhone photography for social media. Many brands use Lightroom presets or VSCO filters to achieve a signature look.
Filters vs. Manual Adjustments: What Works Best?
- Filters: Quick and easy but can look overused. Always adjust filter strength to keep images natural.
- Manual Adjustments: Fine-tune brightness, contrast, shadows, and saturation for a polished look. Use the “Curves” tool in Lightroom for precise colour grading.
Cropping & Resizing for Social Media Platforms
Different platforms have different aspect ratios. Ensure your Instagram photos from iPhone are correctly sized:
- Instagram posts: 1:1 (Square) or 4:5 (Portrait)
- Stories & Reels: 9:16 (Full-screen vertical)
- Facebook & LinkedIn: 1.91:1 (Landscape) or 4:5 (Portrait)
Discover how professional website photography can enhance your brand and boost SEO in our guide here.
Posting Strategy: How to Make Your Photos Stand Out
Taking stunning iPhone photography for social media is only half the battle—knowing how to post and present your content effectively is what maximises engagement. A well-planned strategy ensures your Instagram photos from iPhone reach the right audience and keep them interested.
High-Resolution Uploads & Platform-Specific Sizing
Uploading the highest quality images is crucial, but social media platforms compress images. To maintain quality:
- Edit and export photos at 1080px width for Instagram posts.
- Use PNG instead of JPEG for Facebook and LinkedIn to avoid compression.
- For Instagram Stories and Reels, keep dimensions at 1080x1920px.
Captioning & Hashtag Strategies for Better Engagement
- Keep captions engaging—tell a story, ask a question, or use humour to encourage interaction.
- Use relevant hashtags like #iPhonePhotography, #SocialMediaMarketing, #BrandedPhotography to reach a wider audience.
- Emojis and line breaks make captions easier to read and more visually appealing.
Scheduling & Consistency for Maximum Reach
- Post consistently (at least 3-4 times per week) to stay visible.
- Use scheduling tools like Later or Buffer to plan posts in advance.
- Analyse performance metrics on Instagram Insights to see what works best.
Frequently Asked Questions (FAQs)
1. Can iPhone photography really compete with professional cameras for social media?
Absolutely! Modern iPhones have high-resolution cameras, advanced image processing, and professional-grade features like Portrait Mode and ProRAW. With the right lighting, composition, and editing, iPhone photography for social media can look just as polished as DSLR shots.
2. How do I take great low-light photos with an iPhone?
Use Night Mode (available on newer iPhones) to capture better details in low light. If Night Mode isn’t available, increase exposure manually, keep your phone steady, and use a soft external light source to enhance brightness.
3. Why do my Instagram photos from iPhone lose quality when I upload them?
Social media platforms compress images to reduce file size. To maintain quality, upload at the correct resolution (1080px width for Instagram posts) and avoid excessive editing, which can degrade image clarity.
4. How can I make my iPhone photos look more professional?
Focus on good lighting, composition, and subtle editing. Use manual exposure adjustments, Portrait Mode, and high-quality editing apps like Lightroom or Snapseed.
What’s the best way to edit photos for a consistent brand aesthetic?
Stick to a specific colour palette, use the same editing presets or filters, and avoid over-saturating colours. Consistency is key to branded photography for social media that stands out.