

Keep reading
Rather we just did it for you?
Let's get your business seen.
Social media, websites, SEO and ads from a team you can actually meet.
You’ve updated your website, but the old version keeps showing. Or a customer says the page looks broken while it looks fine to you. Nine times out of ten, the culprit is caching. Caching makes WordPress sites fast, but it can also stop changes appearing straight away. This guide explains how to clear the WordPress cache, including plugin caches, hosting caches, CDNs like Cloudflare and your own browser, plus when you should clear it, when you shouldn’t, and how to fix the most common caching problems.
What is caching?
When someone visits a WordPress page, the server normally builds it from scratch by running code and querying the database. Caching saves a ready-made copy of the page, so the next visitor gets it instantly. That makes sites faster and reduces strain on the server.
The downside is that visitors may see the saved copy for a while after you make changes, until the cache is cleared or refreshed.
The different types of cache
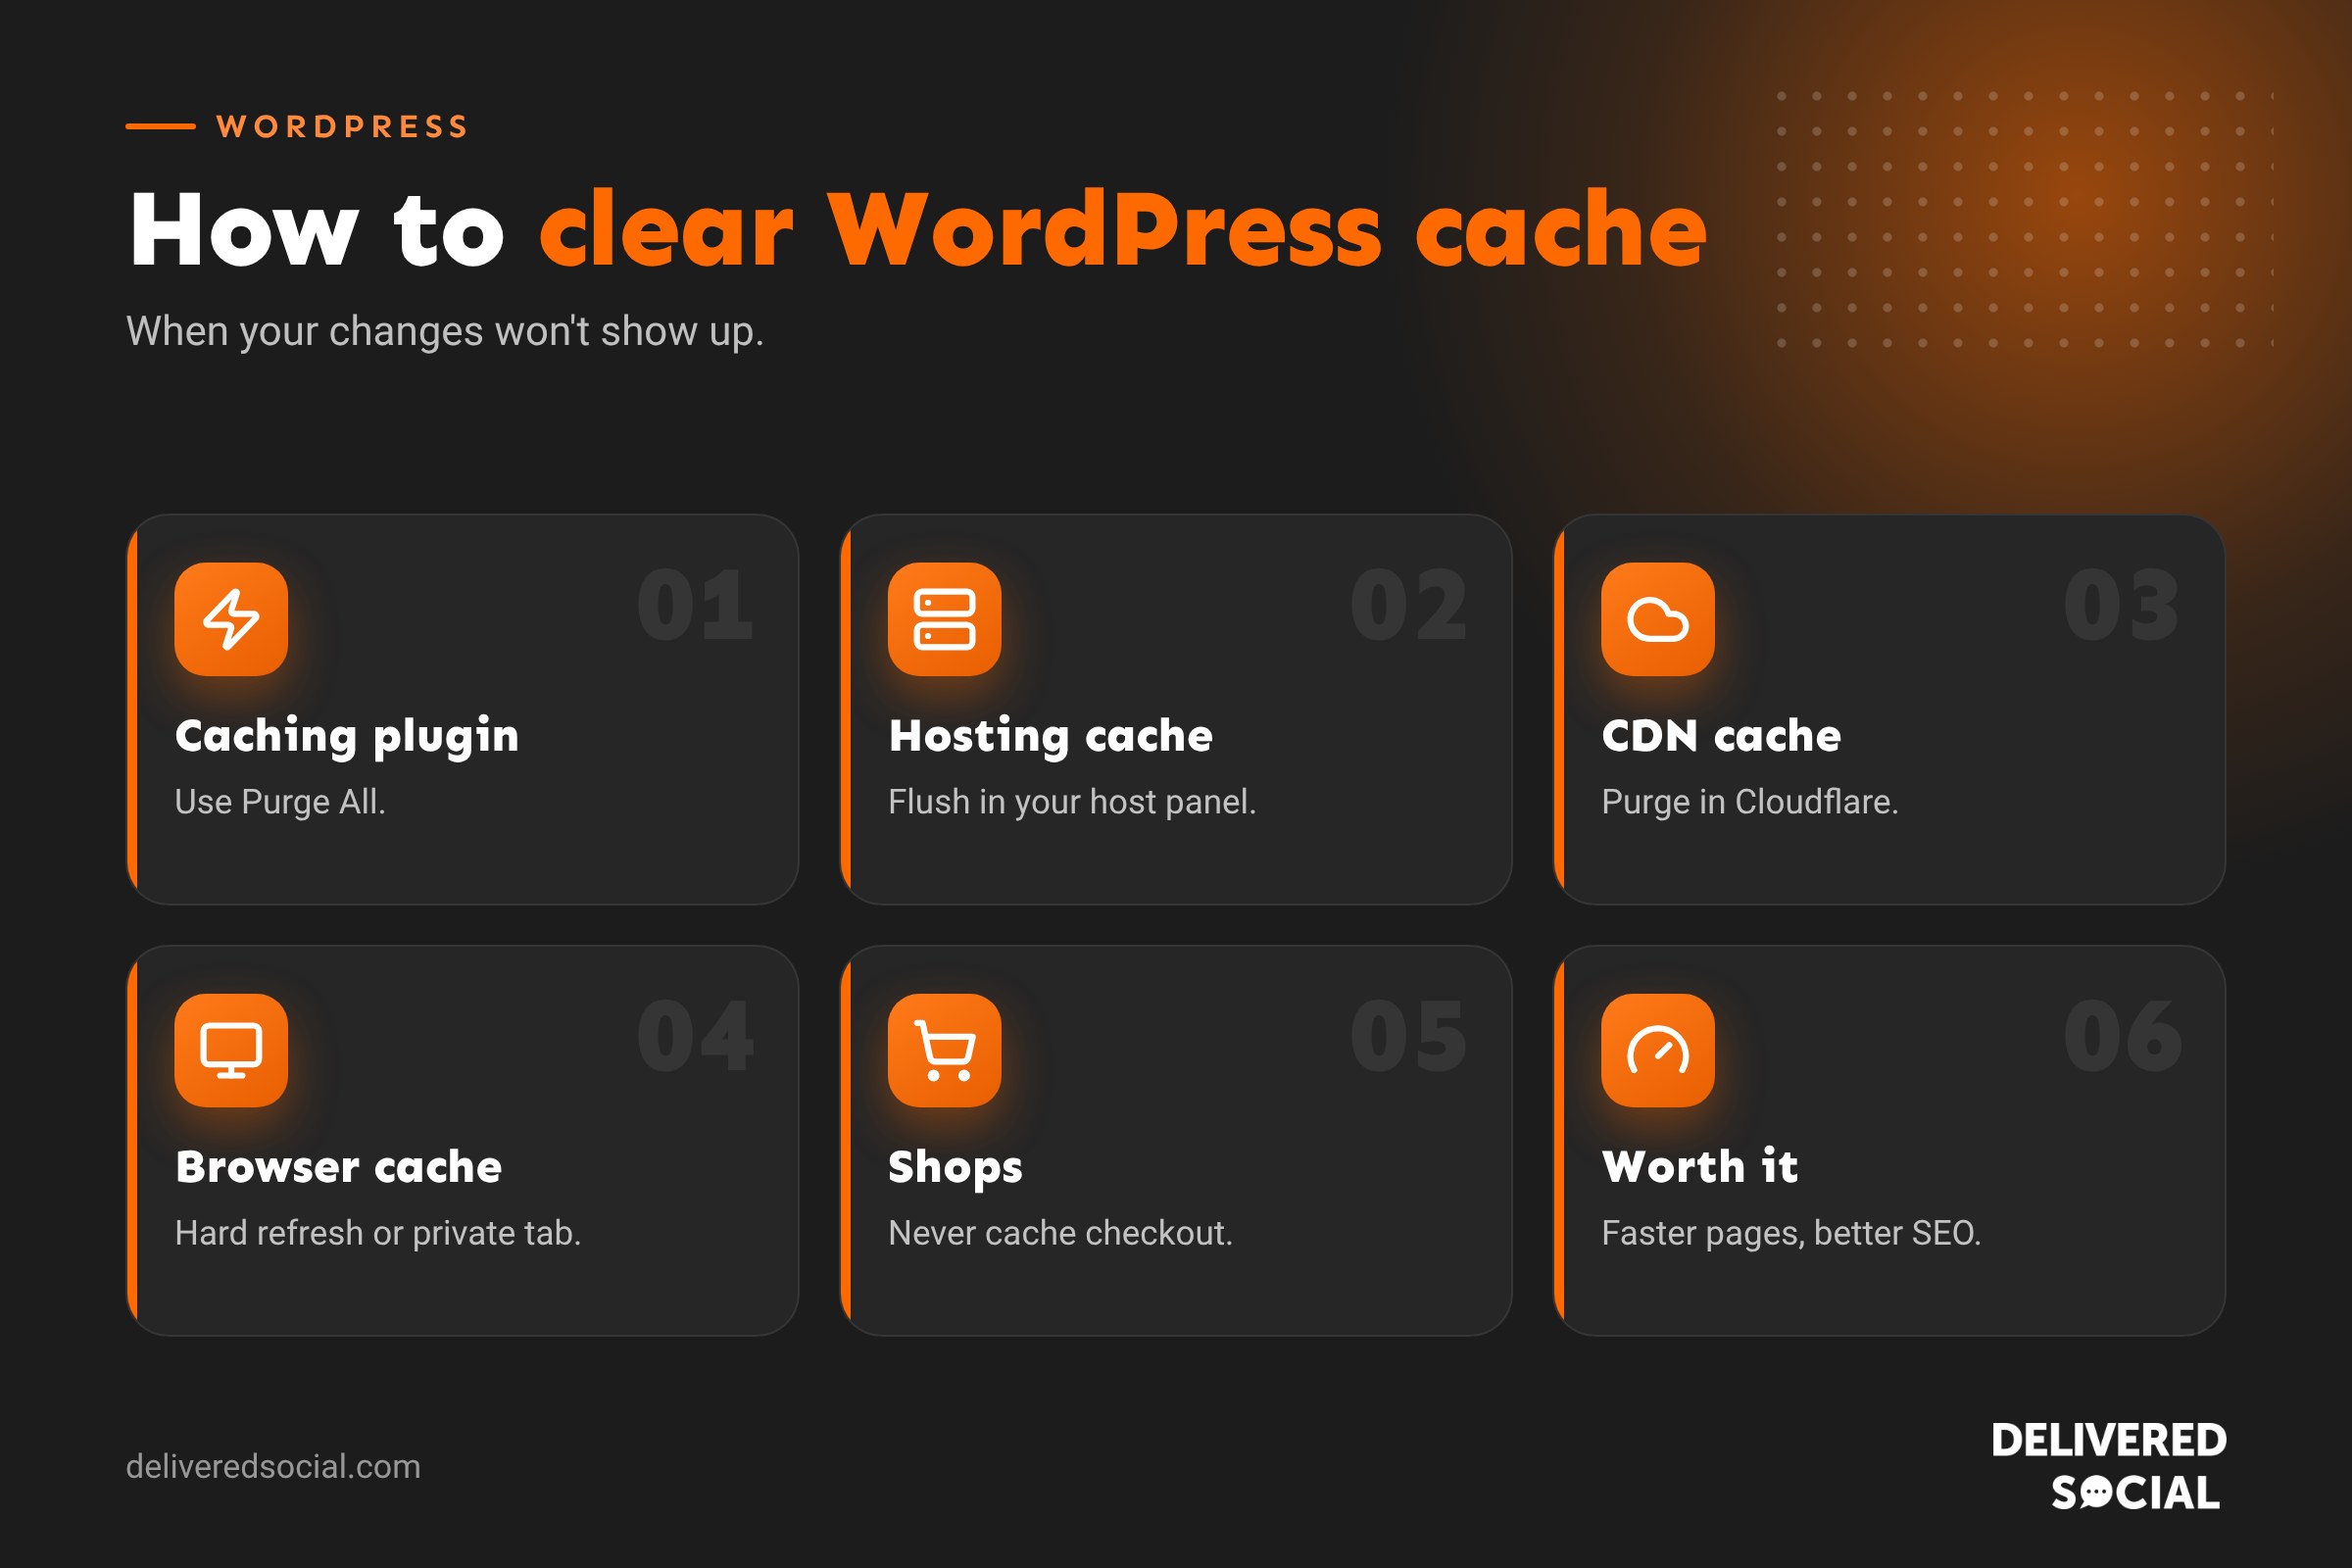
| Cache type | Where it lives | How to clear it |
|---|---|---|
| Page cache (plugin) | Your WordPress site | Use the plugin’s “Purge all” or “Clear cache” button |
| Server or hosting cache | Your web host’s servers | Hosting control panel or a button in WordPress |
| CDN cache | Cloudflare or another CDN | Purge from the CDN dashboard or plugin |
| Object cache | Server memory (Redis or Memcached) | Flush from the caching plugin or host |
| Browser cache | Your own device | Hard refresh or clear browsing data |
Changes may be held in more than one of these at once, which is why clearing just one sometimes doesn’t help.
How to clear cache in popular WordPress caching plugins
- LiteSpeed Cache: hover over the LiteSpeed icon in the top admin bar and choose Purge All, or go to LiteSpeed Cache, then Toolbox.
- WP Rocket: click WP Rocket in the admin bar, then Clear and preload cache.
- W3 Total Cache: choose Performance in the admin bar, then Purge All Caches.
- WP Super Cache: go to Settings, then WP Super Cache, then Delete Cache.
- WP Fastest Cache: click the plugin in the admin bar and choose Delete Cache.
Most caching plugins add a clear cache option to the black admin bar at the top of the screen when you’re logged in.
How to clear your hosting cache
Many hosts run their own caching on the server. Look in your hosting control panel for options like “Cache”, “Purge cache” or “Flush cache”. Some hosts add a button to the WordPress admin bar. If you’re not sure whether your host caches pages, check their help centre or ask support.
How to clear Cloudflare or CDN cache
- Log in to your Cloudflare dashboard and select your domain.
- Go to Caching, then Configuration.
- Choose Purge Everything, or Custom Purge to clear specific URLs.
Other CDNs have similar options. Some caching plugins connect to Cloudflare so one click clears both.
How to clear your browser cache
- Hard refresh on Windows: Ctrl and F5, or Ctrl, Shift and R.
- Hard refresh on Mac: Cmd, Shift and R.
- Private window: open the page in an incognito or private window to see a fresh version.
- Full clear: in your browser settings, clear cached images and files.
- Phones: clear browsing data in your browser’s settings, or use a private tab.
When should you clear the cache?
- After editing pages or posts and the changes don’t show.
- After changing your theme, menus or widgets.
- After updating plugins or WordPress itself.
- After changing CSS or design settings.
- After moving hosts or changing your domain.
- When troubleshooting layout or display problems.
When not to clear the cache
Clearing the cache constantly isn’t necessary and can briefly slow your site, because pages need to be rebuilt. Many caching plugins automatically clear the relevant pages when you update content, so you only need a full clear after bigger changes. On busy sites, clearing everything at peak times can cause a short spike in server load.
Fixing common caching problems
| Problem | Likely cause | Fix |
|---|---|---|
| Changes not showing | Page, server or CDN cache | Clear plugin, hosting and CDN caches, then hard refresh |
| Layout looks broken after an update | Old CSS or JavaScript cached | Clear cache and regenerate minified files |
| Logged-in content shown to visitors | Incorrect cache settings | Exclude account, cart and checkout pages from caching |
| Basket empties or checkout errors | Shop pages being cached | Exclude cart, checkout and my account pages |
| Forms fail to submit | Cached security tokens | Exclude form pages or adjust cache lifespan |
| Site slower after clearing | Cache rebuilding | Use cache preloading so pages rebuild in the background |
Caching and online shops
For WooCommerce shops, some pages must never be cached because they’re personal to each visitor: the basket, checkout and my account pages. Good caching plugins exclude these automatically, but it’s worth checking. If customers report strange basket behaviour, caching is one of the first things to investigate.
Is caching worth it?
Absolutely. Caching is one of the biggest speed improvements for WordPress. Faster pages keep visitors on your site, improve conversions and help with SEO, because speed and user experience matter to Google. The occasional need to clear the cache is a small price for a much faster website. Our guide to the best WordPress plugins includes caching options.
Setting up caching well
- Check whether your host already provides server caching.
- Use one caching plugin, not several, to avoid conflicts.
- Turn on page caching and browser caching.
- Exclude basket, checkout, account and form pages where needed.
- Enable cache preloading.
- Test your site logged out, on mobile and desktop, after setup.
Need a developer?
If clearing every cache doesn’t fix the problem, the issue may be something else, such as a plugin conflict, theme error or CDN setting. That’s the time to ask your web developer or agency. A website maintenance plan means someone can investigate and fix issues like this quickly.
A simple routine after making changes
- Save your changes in WordPress.
- Clear your caching plugin.
- Clear hosting cache if your host has one.
- Purge your CDN if you use one.
- Check the page in a private browser window.
Clearing cache on popular hosts
Many managed WordPress hosts add their own cache controls. Typically you’ll find a “Purge cache” or “Flush cache” button in the hosting dashboard, the WordPress admin bar, or a plugin the host installs for you. If you can’t find it, search your host’s help centre for “clear cache” or ask their support team, who can usually do it in seconds.
Why visitors might see different versions
Different visitors can see different versions of a page for a short time after an update. That’s because each cache layer, and each visitor’s browser, refreshes on its own schedule. Clearing every layer and asking a colleague to check on their phone, using mobile data rather than office Wi-Fi, is a quick way to confirm the change is live everywhere.
Cache and page builders
Page builders like Elementor and others generate their own CSS files. If design changes don’t appear after clearing caches, look for a “Regenerate CSS” or “Clear files” option in the page builder’s settings, then clear your caching plugin again.
Quick glossary
- Cache: a stored copy of content for faster loading.
- Purge: to delete cached copies so fresh ones are created.
- CDN: a content delivery network that serves your site from servers around the world.
- Preloading: rebuilding the cache automatically in the background.
- Minification: shrinking CSS and JavaScript files to load faster.
A note on mobile apps and social previews
Social platforms like Facebook and LinkedIn also cache link previews. If you’ve changed a page’s title or featured image and the old version still shows when sharing, use the platform’s debugging or post inspector tool to refresh the preview.
Key takeaways
- Caching makes WordPress faster but can delay changes appearing.
- There can be several caches: plugin, server, CDN and browser.
- Most caching plugins have a “Purge all” button in the admin bar.
- Exclude basket, checkout and account pages on shops.
- Check changes in a private window after clearing caches.
Frequently asked questions
How do I clear my WordPress cache?
Use your caching plugin’s “Purge all” or “Clear cache” option, then clear hosting and CDN caches if you use them.
Why aren’t my WordPress changes showing?
Usually because a cached version is being shown. Clear caches and do a hard refresh.
Does clearing cache delete anything?
No. It only removes temporary copies; your content and settings are safe.
How often should I clear WordPress cache?
Only when changes aren’t showing or after big updates. Many plugins clear updated pages automatically.
Should I use more than one caching plugin?
No. One caching plugin plus your host’s caching is usually best; several can conflict.
Will clearing the cache log me out?
Clearing your site cache won’t, but clearing browser cookies will log you out of websites.
Want a fast, well-maintained WordPress site?
We build, host and maintain fast WordPress websites for businesses across Surrey, Hampshire and the UK. Call us on 01483 608 303 to find out more.