

Keep reading
Rather we just did it for you?
Let's get your business seen.
Social media, websites, SEO and ads from a team you can actually meet.
Plugins are what make WordPress so flexible. They add everything from contact forms to online shops, and sometimes the exact feature you need doesn’t exist, or the plugins that do are bloated. Building your own small plugin is more achievable than many people think, and it’s a great way to add custom features cleanly without editing your theme. This guide explains how to create a WordPress plugin step by step: when a custom plugin makes sense, the basic file structure, hooks, a working example, security best practice, testing and when to hand it to a developer.
What is a WordPress plugin?
A plugin is a package of code, mainly PHP, that adds or changes functionality in WordPress without altering WordPress core files. Plugins can add new features, change how things behave, add admin settings, create blocks or connect to other services. Because they’re separate from your theme, your custom features keep working even if you change your design.
When should you create a custom plugin?
- You need a small, specific feature that existing plugins don’t do well.
- You want to avoid a heavy plugin for a simple job.
- You have code snippets that should survive a theme change.
- You’re building a custom integration with another system.
- You want to package and reuse functionality across sites.
Before you build, check whether a well-maintained plugin already exists. Our list of the best WordPress plugins is a good starting point.
What you’ll need
- A local or staging WordPress site to develop on, never your live site.
- A code editor.
- Basic knowledge of PHP, HTML and how WordPress works.
- File access via SFTP or your local development tool.
- Debugging switched on in your development site’s wp-config.php.
See how to learn WordPress if you’re starting out.
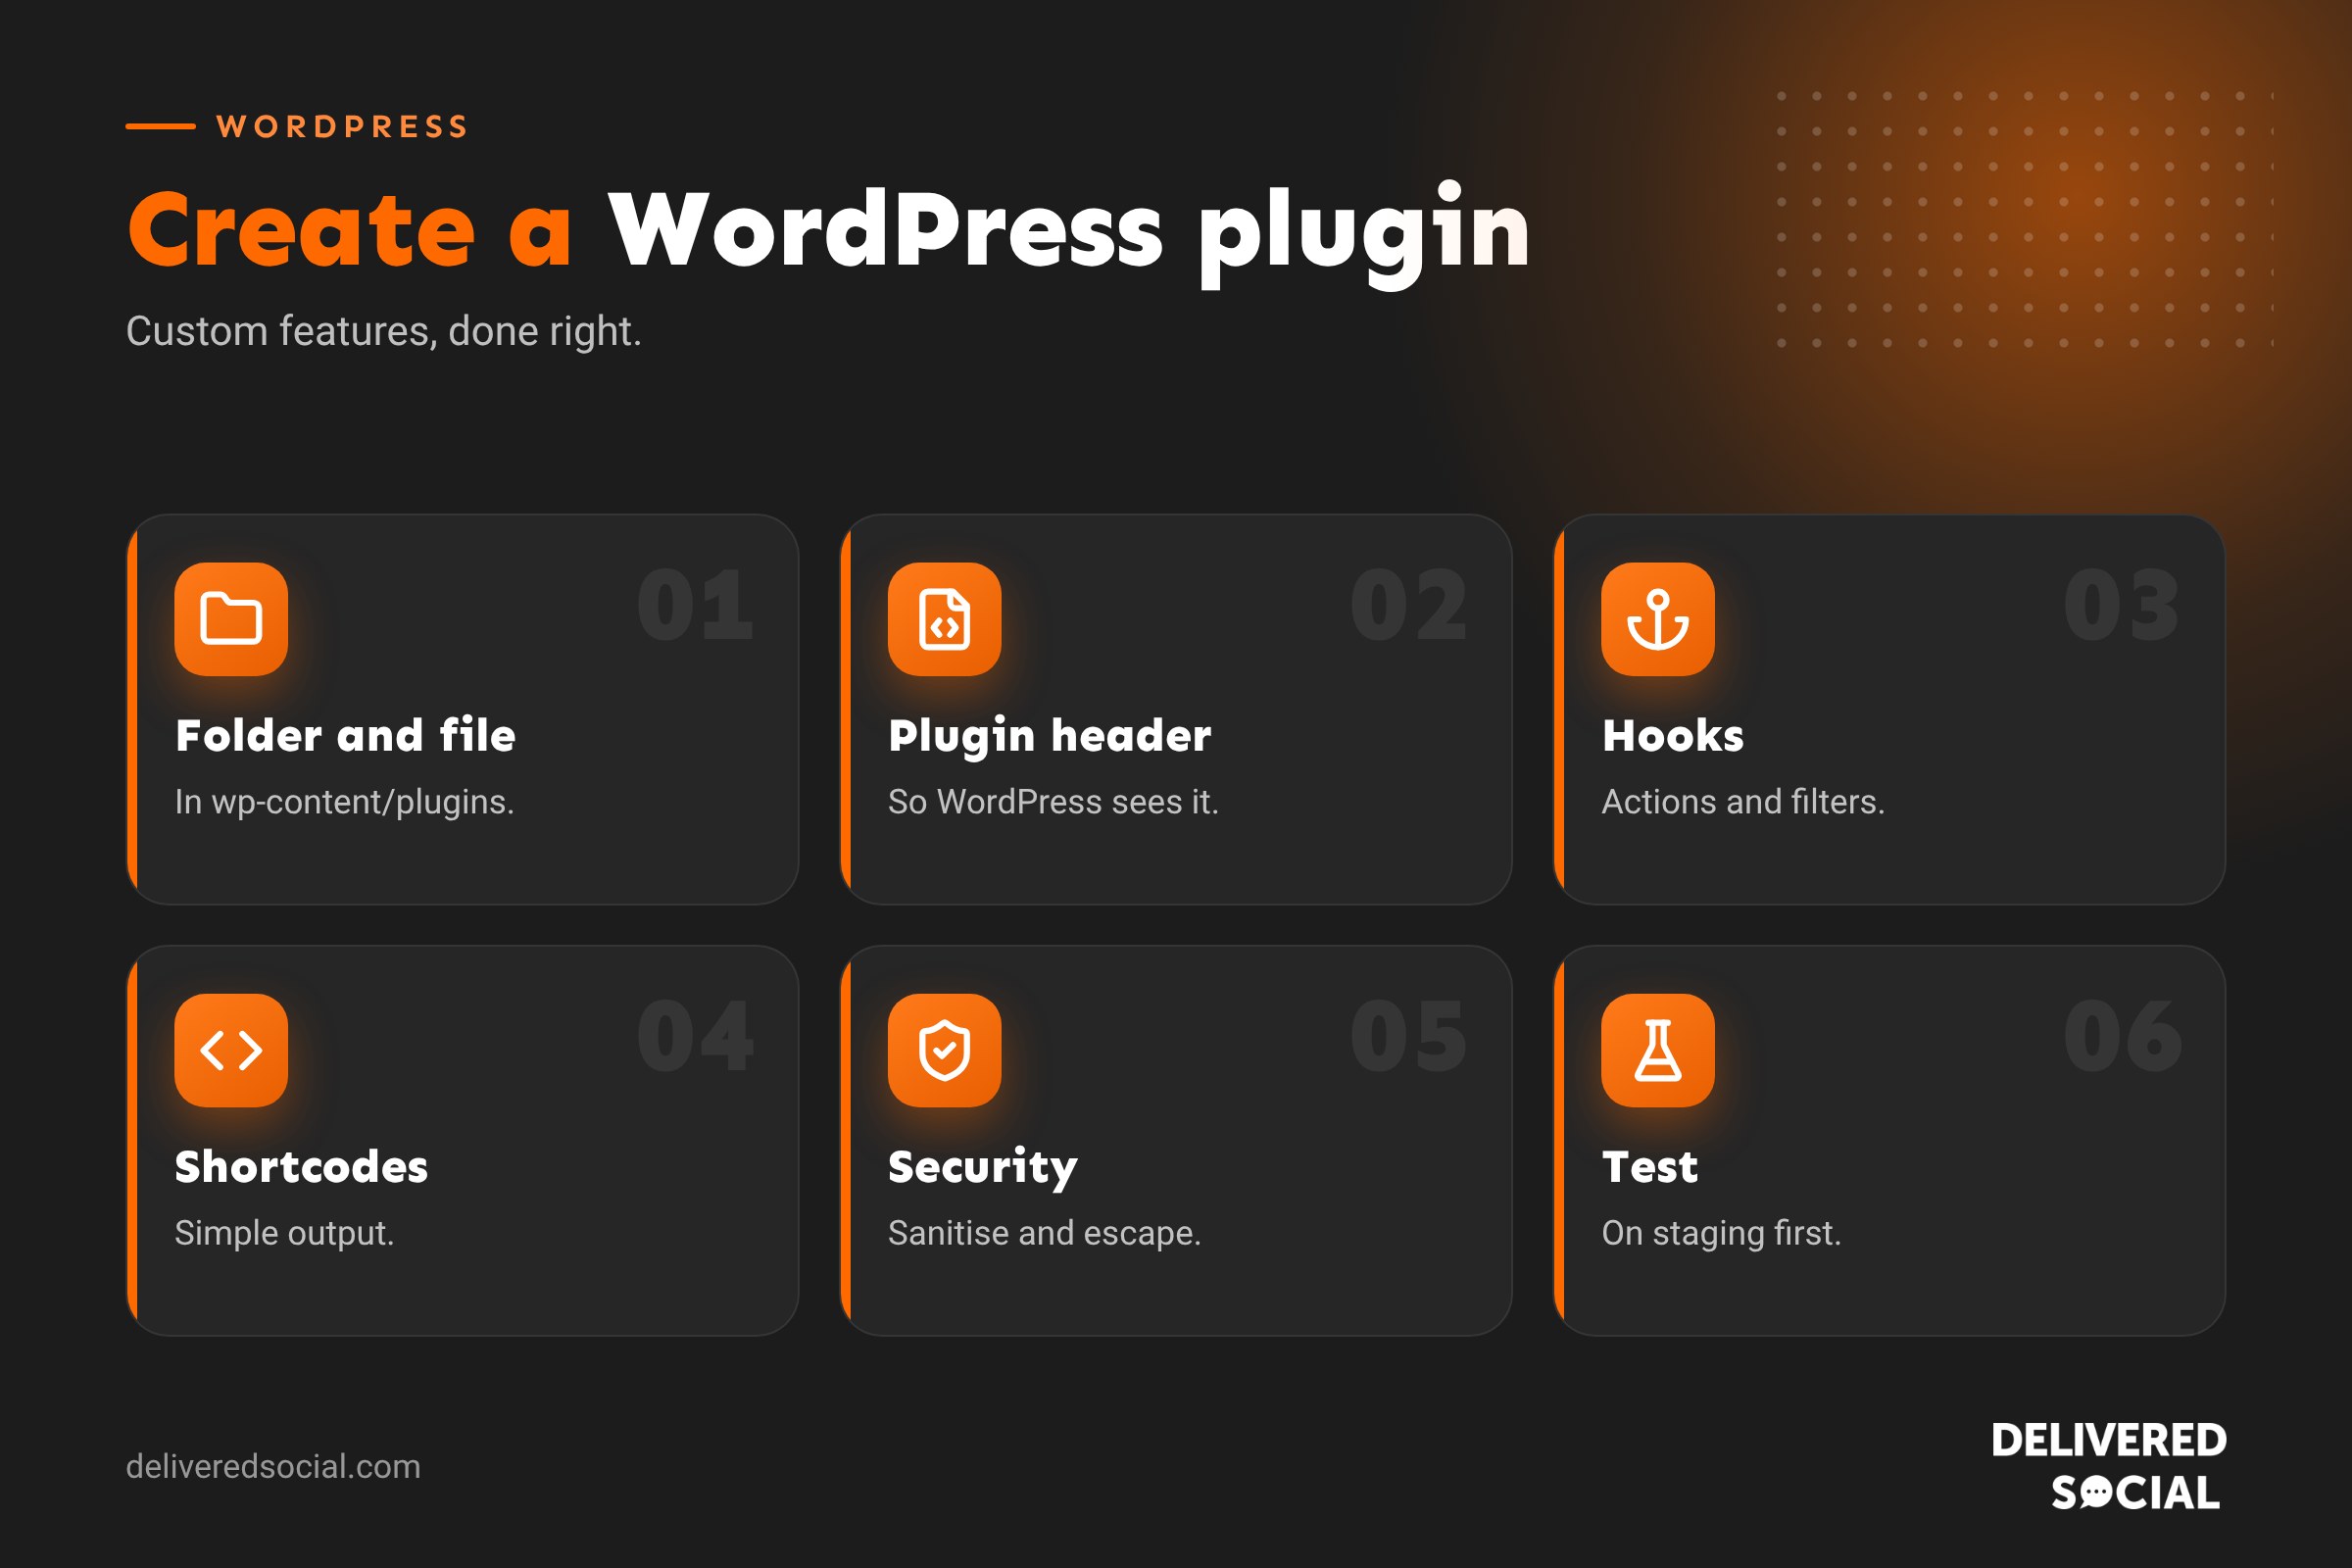
Step 1: Create the plugin folder and file
In wp-content/plugins, create a new folder with a unique name, such as ds-opening-hours. Inside it, create a PHP file with the same name: ds-opening-hours.php.
Step 2: Add the plugin header
WordPress recognises plugins by a header comment at the top of the main file:
<?php
/**
 * Plugin Name: DS Opening Hours
 * Description: Shows today's opening hours with a shortcode.
 * Version: 1.0.0
 * Author: Your Name
 * License: GPL2+
 * Text Domain: ds-opening-hours
 */

if ( ! defined( 'ABSPATH' ) ) {
    exit; // Stop direct access.
}
Save the file, go to Plugins in your dashboard, and you’ll see your plugin listed, ready to activate. The ABSPATH check stops anyone running the file directly from a browser.
Step 3: Understand hooks
Plugins work mainly through hooks, points where WordPress lets you add or change behaviour:
| Hook type | What it does | Example |
|---|---|---|
| Action | Runs your code at a specific moment | Add something to the footer, send an email after a form |
| Filter | Changes data before it’s used or displayed | Change the excerpt length, modify a title |
You use add_action() and add_filter() to attach your functions to hooks.
Step 4: Add a feature (shortcode example)
This example adds a shortcode that shows today’s opening hours:
function ds_opening_hours_shortcode() {
    $hours = array(
        'Monday'    => '9am to 5pm',
        'Tuesday'   => '9am to 5pm',
        'Wednesday' => '9am to 5pm',
        'Thursday'  => '9am to 7pm',
        'Friday'    => '9am to 5pm',
        'Saturday'  => '10am to 2pm',
        'Sunday'    => 'Closed',
    );
    $today = wp_date( 'l' );
    $text  = isset( $hours[ $today ] ) ? $hours[ $today ] : '';
    return '<p class="ds-hours">Today: ' . esc_html( $text ) . '</p>';
}
add_shortcode( 'ds_opening_hours', 'ds_opening_hours_shortcode' );
Activate the plugin, add [ds_opening_hours] to any page, and it displays today’s hours. Note the use of esc_html() to output text safely and wp_date() to respect your site’s timezone.
Step 5: Add a settings page (optional)
For features site owners need to configure, add a settings page using add_options_page() and the WordPress Settings API. This lets admins change options, such as the opening hours above, without editing code. Store settings with get_option() and update_option().
Step 6: Load styles and scripts properly
If your plugin needs CSS or JavaScript, use wp_enqueue_style() and wp_enqueue_script() on the right hooks, and only load them on pages that need them. This keeps your site fast. See why is my WordPress site slow?
Step 7: Follow security best practice
- Sanitise input: clean data coming in with functions like
sanitize_text_field(). - Escape output: use
esc_html(),esc_attr()andesc_url()when displaying data. - Check permissions: use
current_user_can()before admin actions. - Use nonces: protect forms and actions against forged requests.
- Use prepared database queries: with
$wpdb->prepare(). - Prefix everything: function names, options and classes, to avoid conflicts.
Poorly secured plugins are a common route for hacks. See is WordPress safe?
Step 8: Activation, deactivation and uninstall
Use register_activation_hook() to set default options or create database tables when the plugin is activated, and register_deactivation_hook() to tidy scheduled tasks. An uninstall.php file can remove your plugin’s data when someone deletes it, leaving the site clean.
Step 9: Structure larger plugins
As plugins grow, split code into folders such as includes, admin and assets, and consider object-oriented classes. Follow the WordPress coding standards so others can read and maintain your code.
Step 10: Test thoroughly
- Test with debugging on and fix every warning.
- Test with a default theme and with your real theme.
- Test alongside your other plugins for conflicts.
- Test on mobile and different browsers if it affects the front end.
- Test with different user roles.
- Check speed before and after activating.
Step 11: Deploy and maintain
Zip the plugin folder and upload it via Plugins, then Add New, then Upload Plugin, or deploy via SFTP. Back up the site first. Keep the plugin updated as WordPress and PHP evolve, and use version control such as Git to track changes. See how to back up a WordPress site.
Sharing your plugin
You can submit free plugins to the official WordPress plugin directory, which reviews them against its guidelines. Plugins must be GPL-compatible and follow security and naming rules. Sharing a plugin means committing to support and updates.
Plugin vs functions.php vs code snippets
| Option | Best for | Drawback |
|---|---|---|
| Theme functions.php | Design-related tweaks | Lost if you change theme |
| Code snippets plugin | Small, quick snippets | Harder to organise larger features |
| Custom plugin | Features that should survive theme changes | Needs more set-up |
Using AI to help write plugins
AI assistants can draft plugin code quickly, but always review it for security, test on a staging site and make sure you understand what it does. See our guide to building a WordPress website with AI.
When to hire a developer
For plugins handling payments, personal data, complex integrations or high traffic, an experienced WordPress developer is worth it. They’ll build for security, performance and long-term maintenance. See WordPress developer vs web developer.
Making your plugin translatable
If others will use your plugin, wrap text in translation functions such as __() and esc_html__() with your text domain, and load translations with load_plugin_textdomain(). This lets the plugin be translated into other languages without changing the code, and it’s good practice even for UK-only plugins in case requirements change.
Adding a custom block instead
Modern WordPress sites use the block editor, so many new features are better delivered as custom blocks rather than shortcodes. Blocks give editors a visual preview and settings in the sidebar. Building blocks involves JavaScript (often React) and the official block development tools, which have a steeper learning curve, but they provide a much nicer editing experience for site owners.
Quick glossary
- Hook: a point where code can run or change data.
- Action: a hook that runs code at a moment.
- Filter: a hook that changes data.
- Shortcode: a bracketed tag that outputs content.
- Nonce: a security token that protects forms and actions.
Key takeaways
- A plugin needs a folder, a main PHP file and a header comment.
- Hooks (actions and filters) are how plugins add and change features.
- Always sanitise, escape, check permissions and use nonces.
- Develop and test on a staging site, never live.
- Hire a developer for complex or sensitive features.
Frequently asked questions
How hard is it to create a WordPress plugin?
A simple plugin is very achievable with basic PHP; complex plugins need experience.
What language are WordPress plugins written in?
Mainly PHP, often with HTML, CSS and JavaScript.
Where do plugin files go?
In a folder inside wp-content/plugins.
Should I use a plugin or functions.php?
Use a plugin for features that should survive a theme change.
Can I sell my plugin?
Yes, many developers sell premium plugins, usually under GPL-compatible licences.
How do I keep my plugin secure?
Sanitise input, escape output, check permissions and use nonces.
Can AI write a WordPress plugin?
It can draft code, but you must review and test it carefully.
Do I need to update my plugin?
Yes, to stay compatible and secure as WordPress and PHP change.
Need a custom WordPress feature built?
We build custom WordPress plugins, integrations and websites for businesses across Surrey, Hampshire and the UK. Call us on 01483 608 303.